Paper mache sounds hard and too much effort for a home activity. But its actually way less effort than you might think. The stuff you need is probably lying around your house for free and primary school kids can do alot of it themselves.
I have 2 primary school boys at home and need easy stuff to keep them busy. After running out of activity ideas on day 3 of home lock down in Melbourne, it got tricky to find activities that weren’t the ipad….Enter paper craft. Seriously if you want to give the kids a project that takes a lot of time for them (not you) over a few days ….then Paper Mache is your cheap and easy friend.
Collecting paper mache materials is free and easy
The materials for paper mache are probably already lying around your house for free. Paper is all over my house. I’ve got old magazines, day old newspaper, random flyers and old school projects that are due for the recycle bin. Just get the kids to gather up random old papers and put them in a bag. House gets tidier and art materials are in one place.
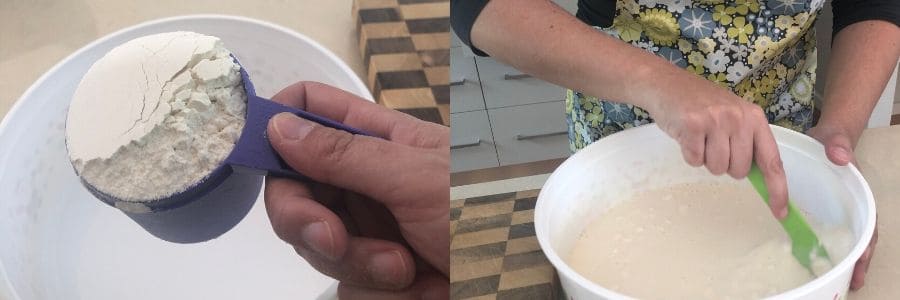
The glue you need for paper mache is just plain flour and water. Just 1 cup of flour from the kitchen mixed with 2 cups of water is all you need. Stir the mixture together and you have glue.
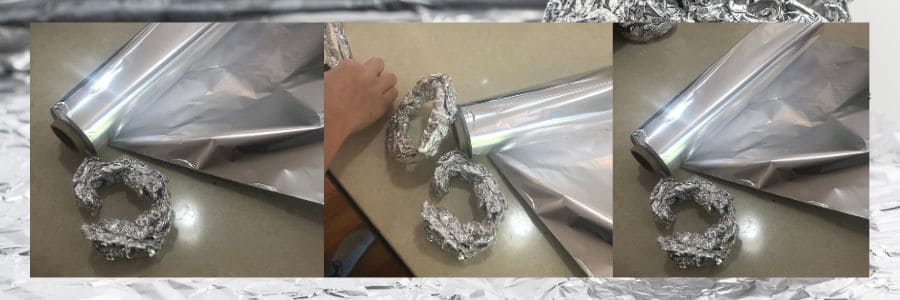
Also you need a frame for the paper mache….We used foil. Just get a piece of foil and make it into the shape of the thing you want to make a paper mache statue out of. I got the kids to shape the foil into the shape of donuts (because fail safe) …but you could make anything your kids are into. Just give the kids foil and tell them to make a statue of whatever they want. Cardboard also works for this too.
One Paper Mache project keeps kids busy for days.
Talk about bang for your buck. I got 4 days of activities from the 1 paper mache project (they spent about 30 minutes each day on this).
Day 1 – Kids made moulds of what they wanted to paper mache. This meant googling images, thinking , sketching and then modelling the thing out of foil. I actually got quiet time while my kids played with foil. We dreamt big but went for donuts in this example. Time spent around 30 minutes
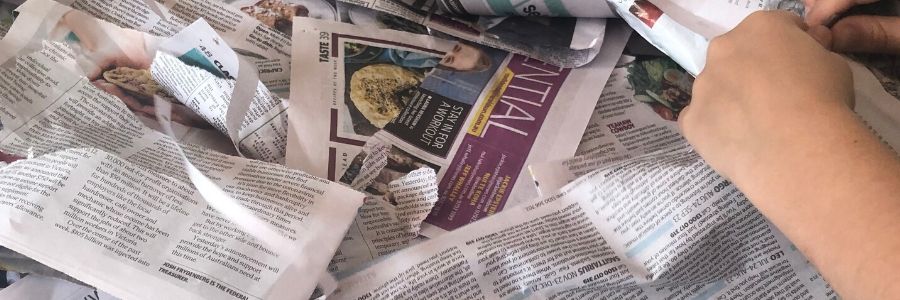
Day 2 – Kids collected materials. I got the kids to get old paper and newspaper from around the house and rip it up into small squares. This took about 20 minutes. FYI Its also VERY satisfying to rip up newspaper when all of the news you read right now is virus related so I helped out.
Day 3– Time to make the actual paper mache. This is the most hands on part of the project. I mixed together the flour and water (1 part flour to 2 parts water) in a bowl and the kids had to fully soak strips of paper into the bowl. Then cover the foil donut they had made completely. Once the kids got the hang of it they could keep going themselves. This took around 30 minutes. The set up was pretty easy i just put a splash mat out to catch all the mess. The kids wore aprons so their clothes stayed clean.
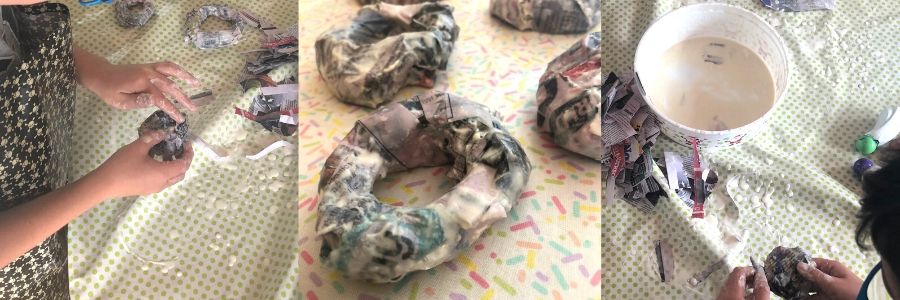
Get kids to do around 3-4 layers of paper strips over the foil. . Less than that it might not be coated enough to hold up . This allows for the fact the first layer might not be great.
Cleaning up the paper mache at this stage was the hardest part of the project. I just put the finished paper mache on a splash mat outside to dry. I rinsed the dirty splash mat and put it in the washing machine. Then I put the paper aside for next time and washed the flour glue bowl. Done.
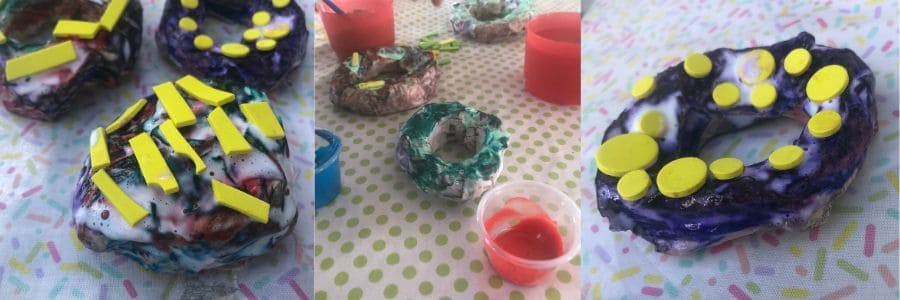
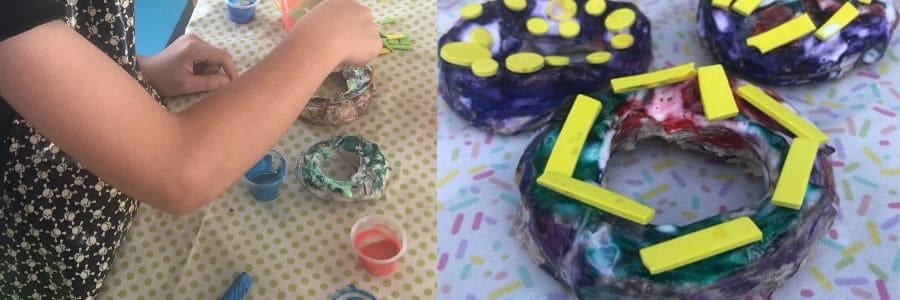
Day 4 – The paper mache takes a good day to dry out. Once your paper mache is dry then its ready for kids to paint. The 4th day I got out paint and textas and the kids decorated their paper mache donuts. I had some craft glue on hand to stick foam shapes for sprinkles on the donuts. Time taken around 30 minutes.
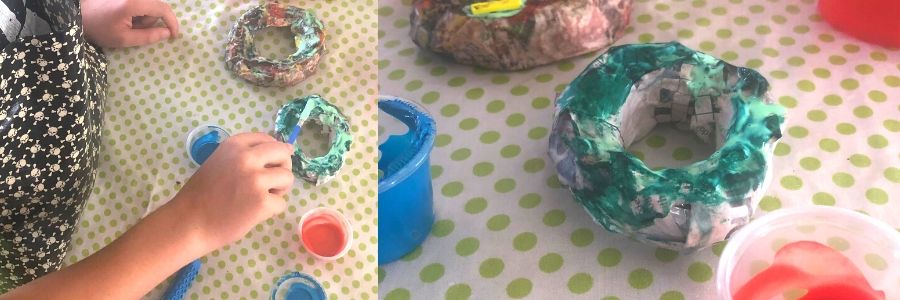
Day 5 – Paper mache is dry. The kids now have a paper mache model to keep, play with and display in their room. Time to plan the next model…

Check out our photos of the donuts. This is an easy and cheap activity for primary school age kids. If you give paper mache a go at home please show us on social media and tag #laminatedcottonshop so we can share your creations.
